Faxing
Included with Pro Upgrade
Faxes can be sent to any of your Fongo Works business phone numbers (except toll-free), then received by your email (as a PDF) or by your fax machine.

Creating a Fax Extension
Recommended Settings
We highly recommend creating a dedicated Fax Extension member on your system for both fax configurations (described below on this page).
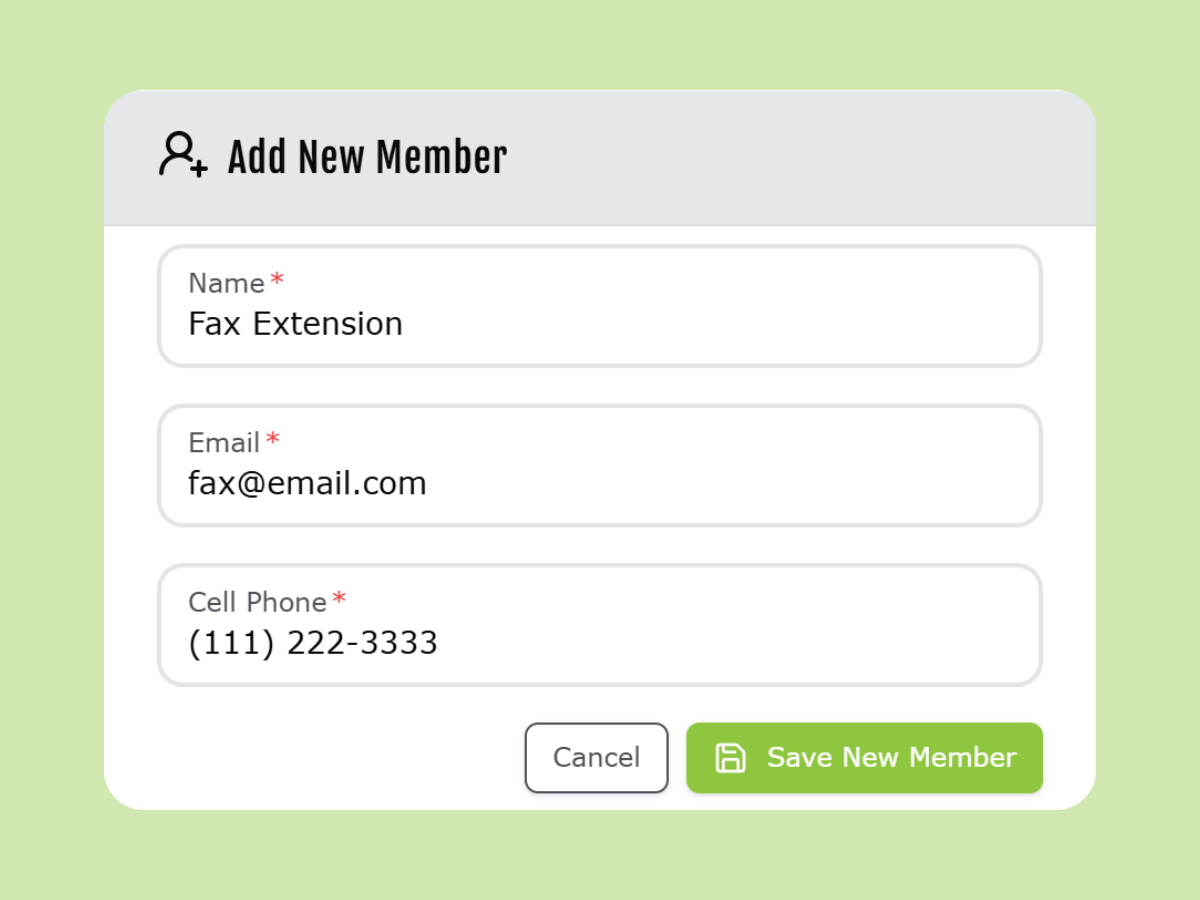
- Create a new member
- Name: “Fax Extension”
- our system will auto-detect “fax” in the name
- Email: Enter the email address that you want faxes to be forwarded to
- can be the same email as another extension
- Enter a fictional cell phone number for this member, such as 111-222-3333
- Name: “Fax Extension”
- Set this member as the receiver of faxes in the Members tab
- ensuring that all fax data is directed here
- Set this member’s call handling as “Go to Voicemail” in the Members tab
- to prevent unintended call forwarding
Tip: You can test the functionality of your fax configuration with a free service like FaxZero.com


Fax Configurations
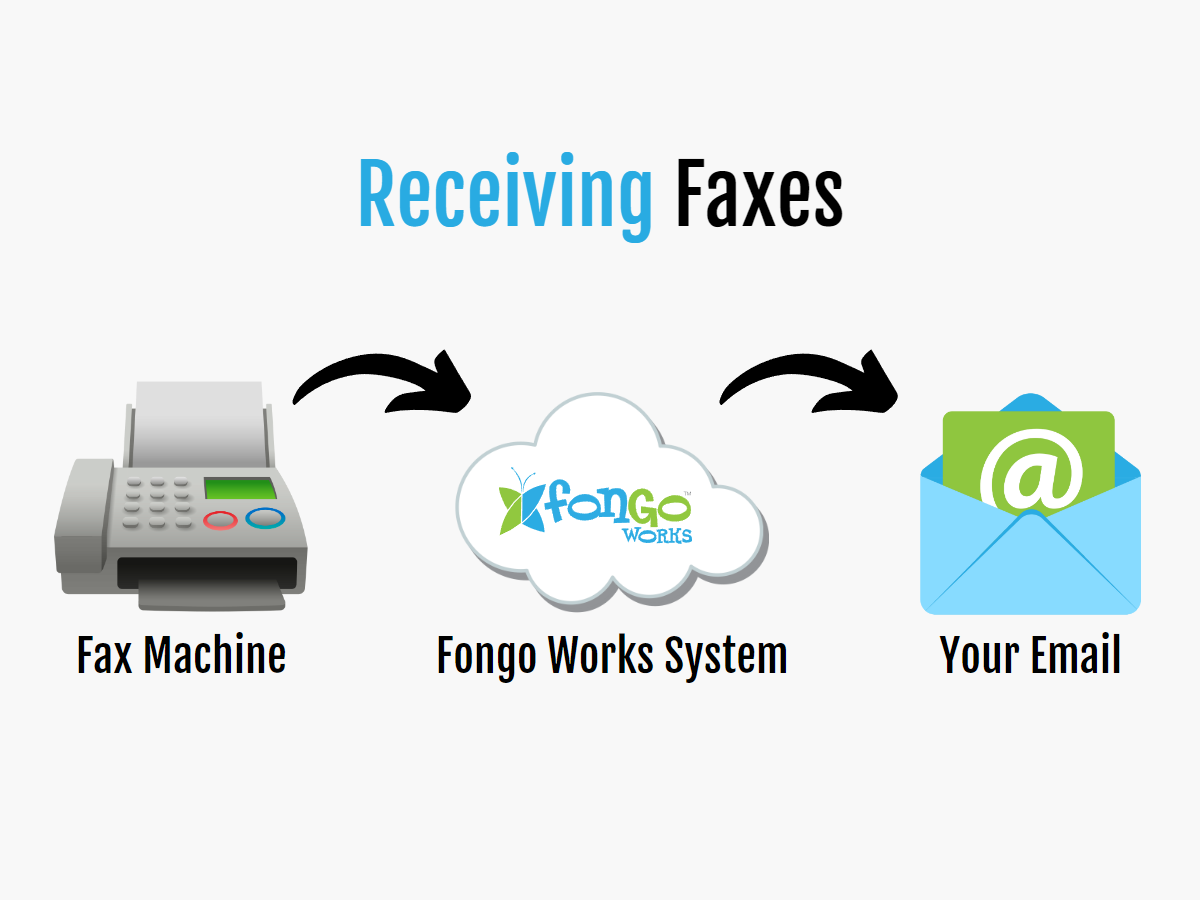
Fax To Email
With your Fax extension configured as mentioned above, faxes sent to your Fongo Works phone numbers will be automatically directed to this member. Fongo Works systems are configured to receive the fax data as a voicemail, which is then converted into a PDF and forwarded to the member’s email address.
Notes:
- The fax call must remain unanswered (by the Fongo Works app) to reach the member’s voicemail.
- Avoid logging in to this member using the Fongo Works app
- Whitelist @vm.fongoworks.com in your email settings to prevent faxes from getting caught by junk/spam filters. Here’s how.
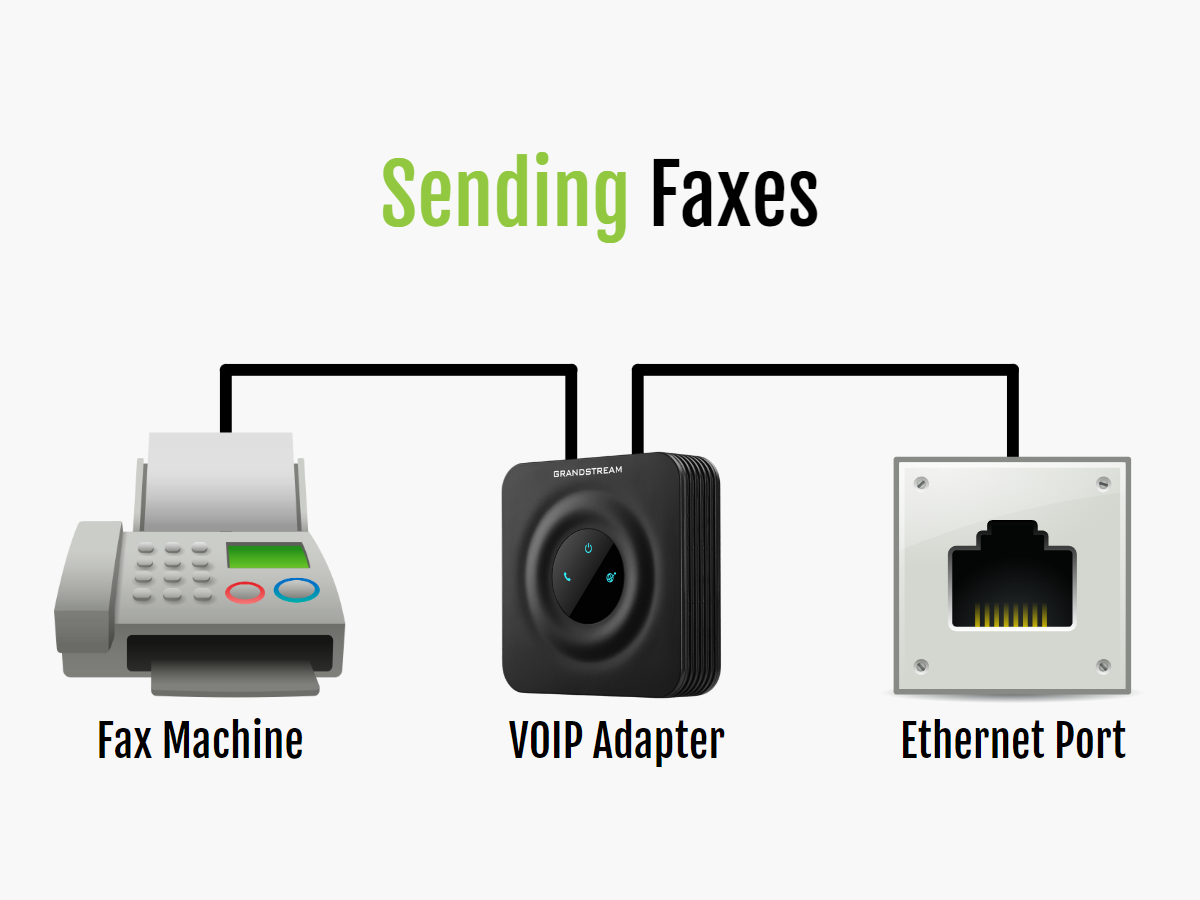
2-Way Faxing
You must set up a VOIP ATA (analog telephone adapter) for the member that you have set to receive incoming faxes. This adapter will need to be plugged into an ethernet connection, then your fax machine will plug into the phone port of the adapter. With this configuration, you can send and receive faxes from your fax machine as if you had a regular fax line.
Recommended adapter: Grandstream HT801 adapter – available for sale in the Fongo Works shop.
Note: Please set your fax machine’s speed/baud-rate to 9600bps or lower.